Bumper Repair Techniques: A Step-by-Step Guide to Flawless Finishes
ss
When it comes to minor vehicle repairs, bumper repair is one of the most common tasks that car owners face. Over time, bumpers can suffer from scratches, dents, and other forms of damage. Fortunately, with the right techniques and tools, you can achieve a flawless finish that restores your bumper's original look.
Understanding Different Types of Bumper Damage
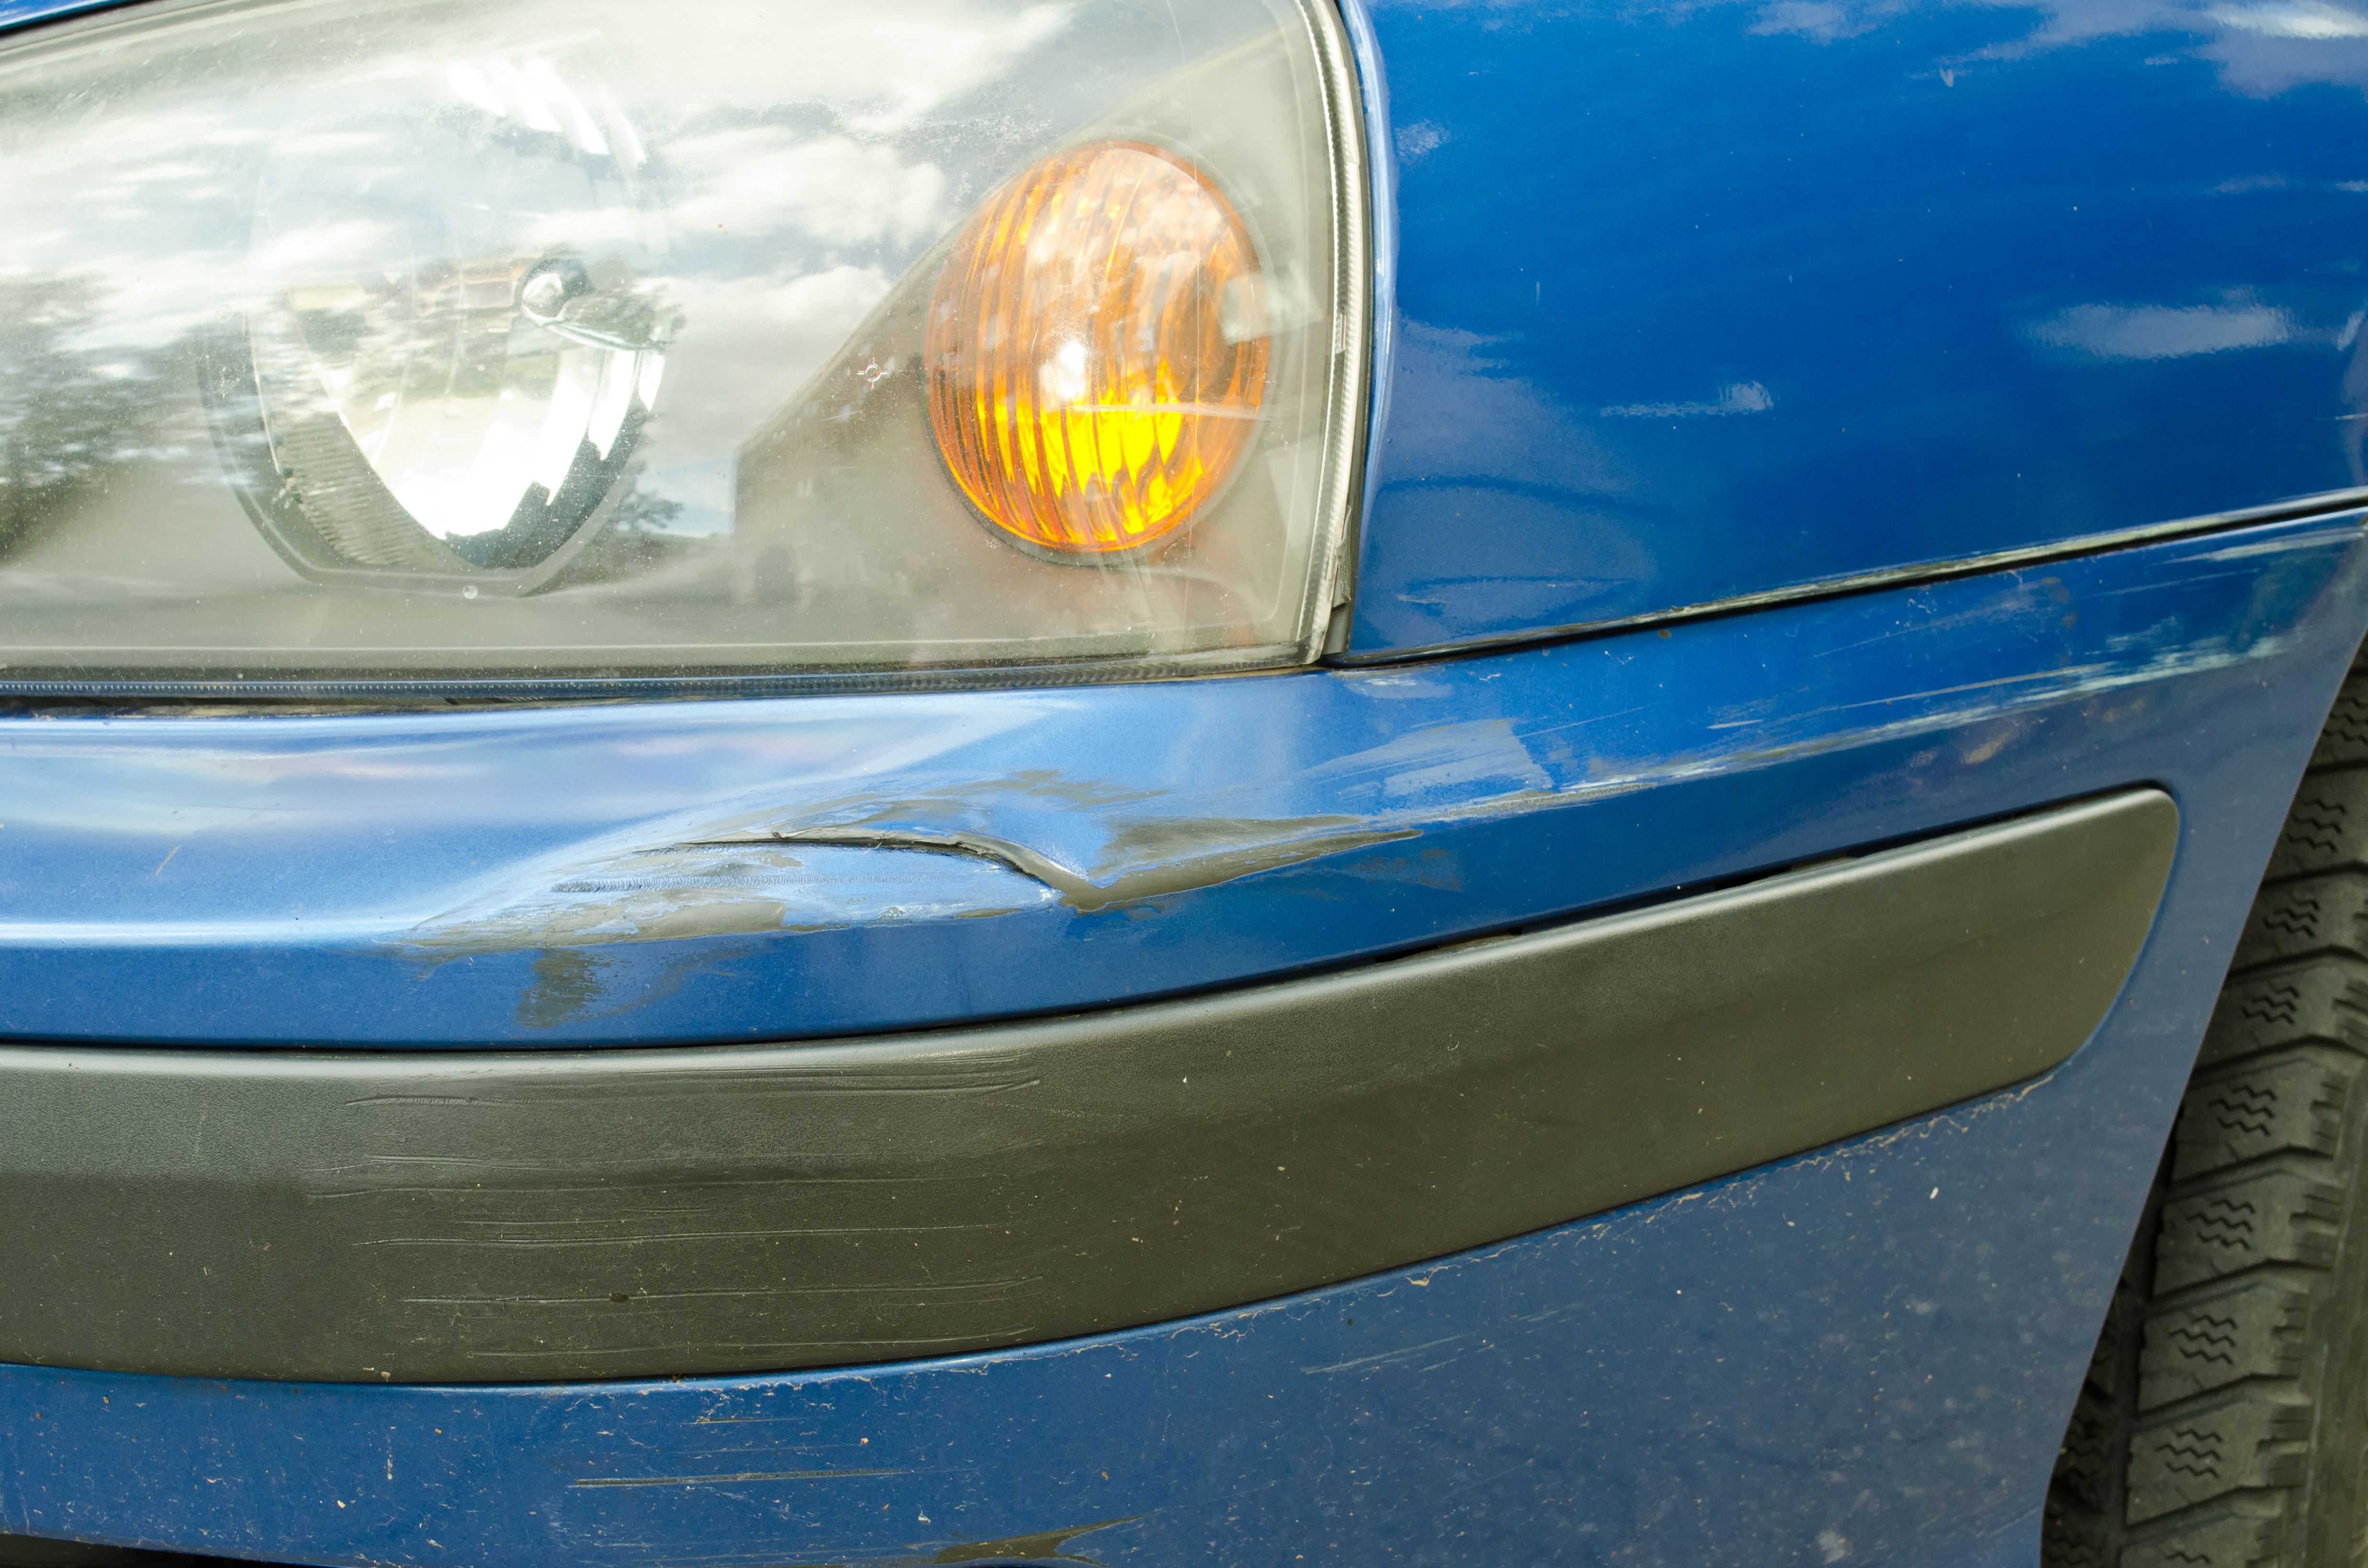
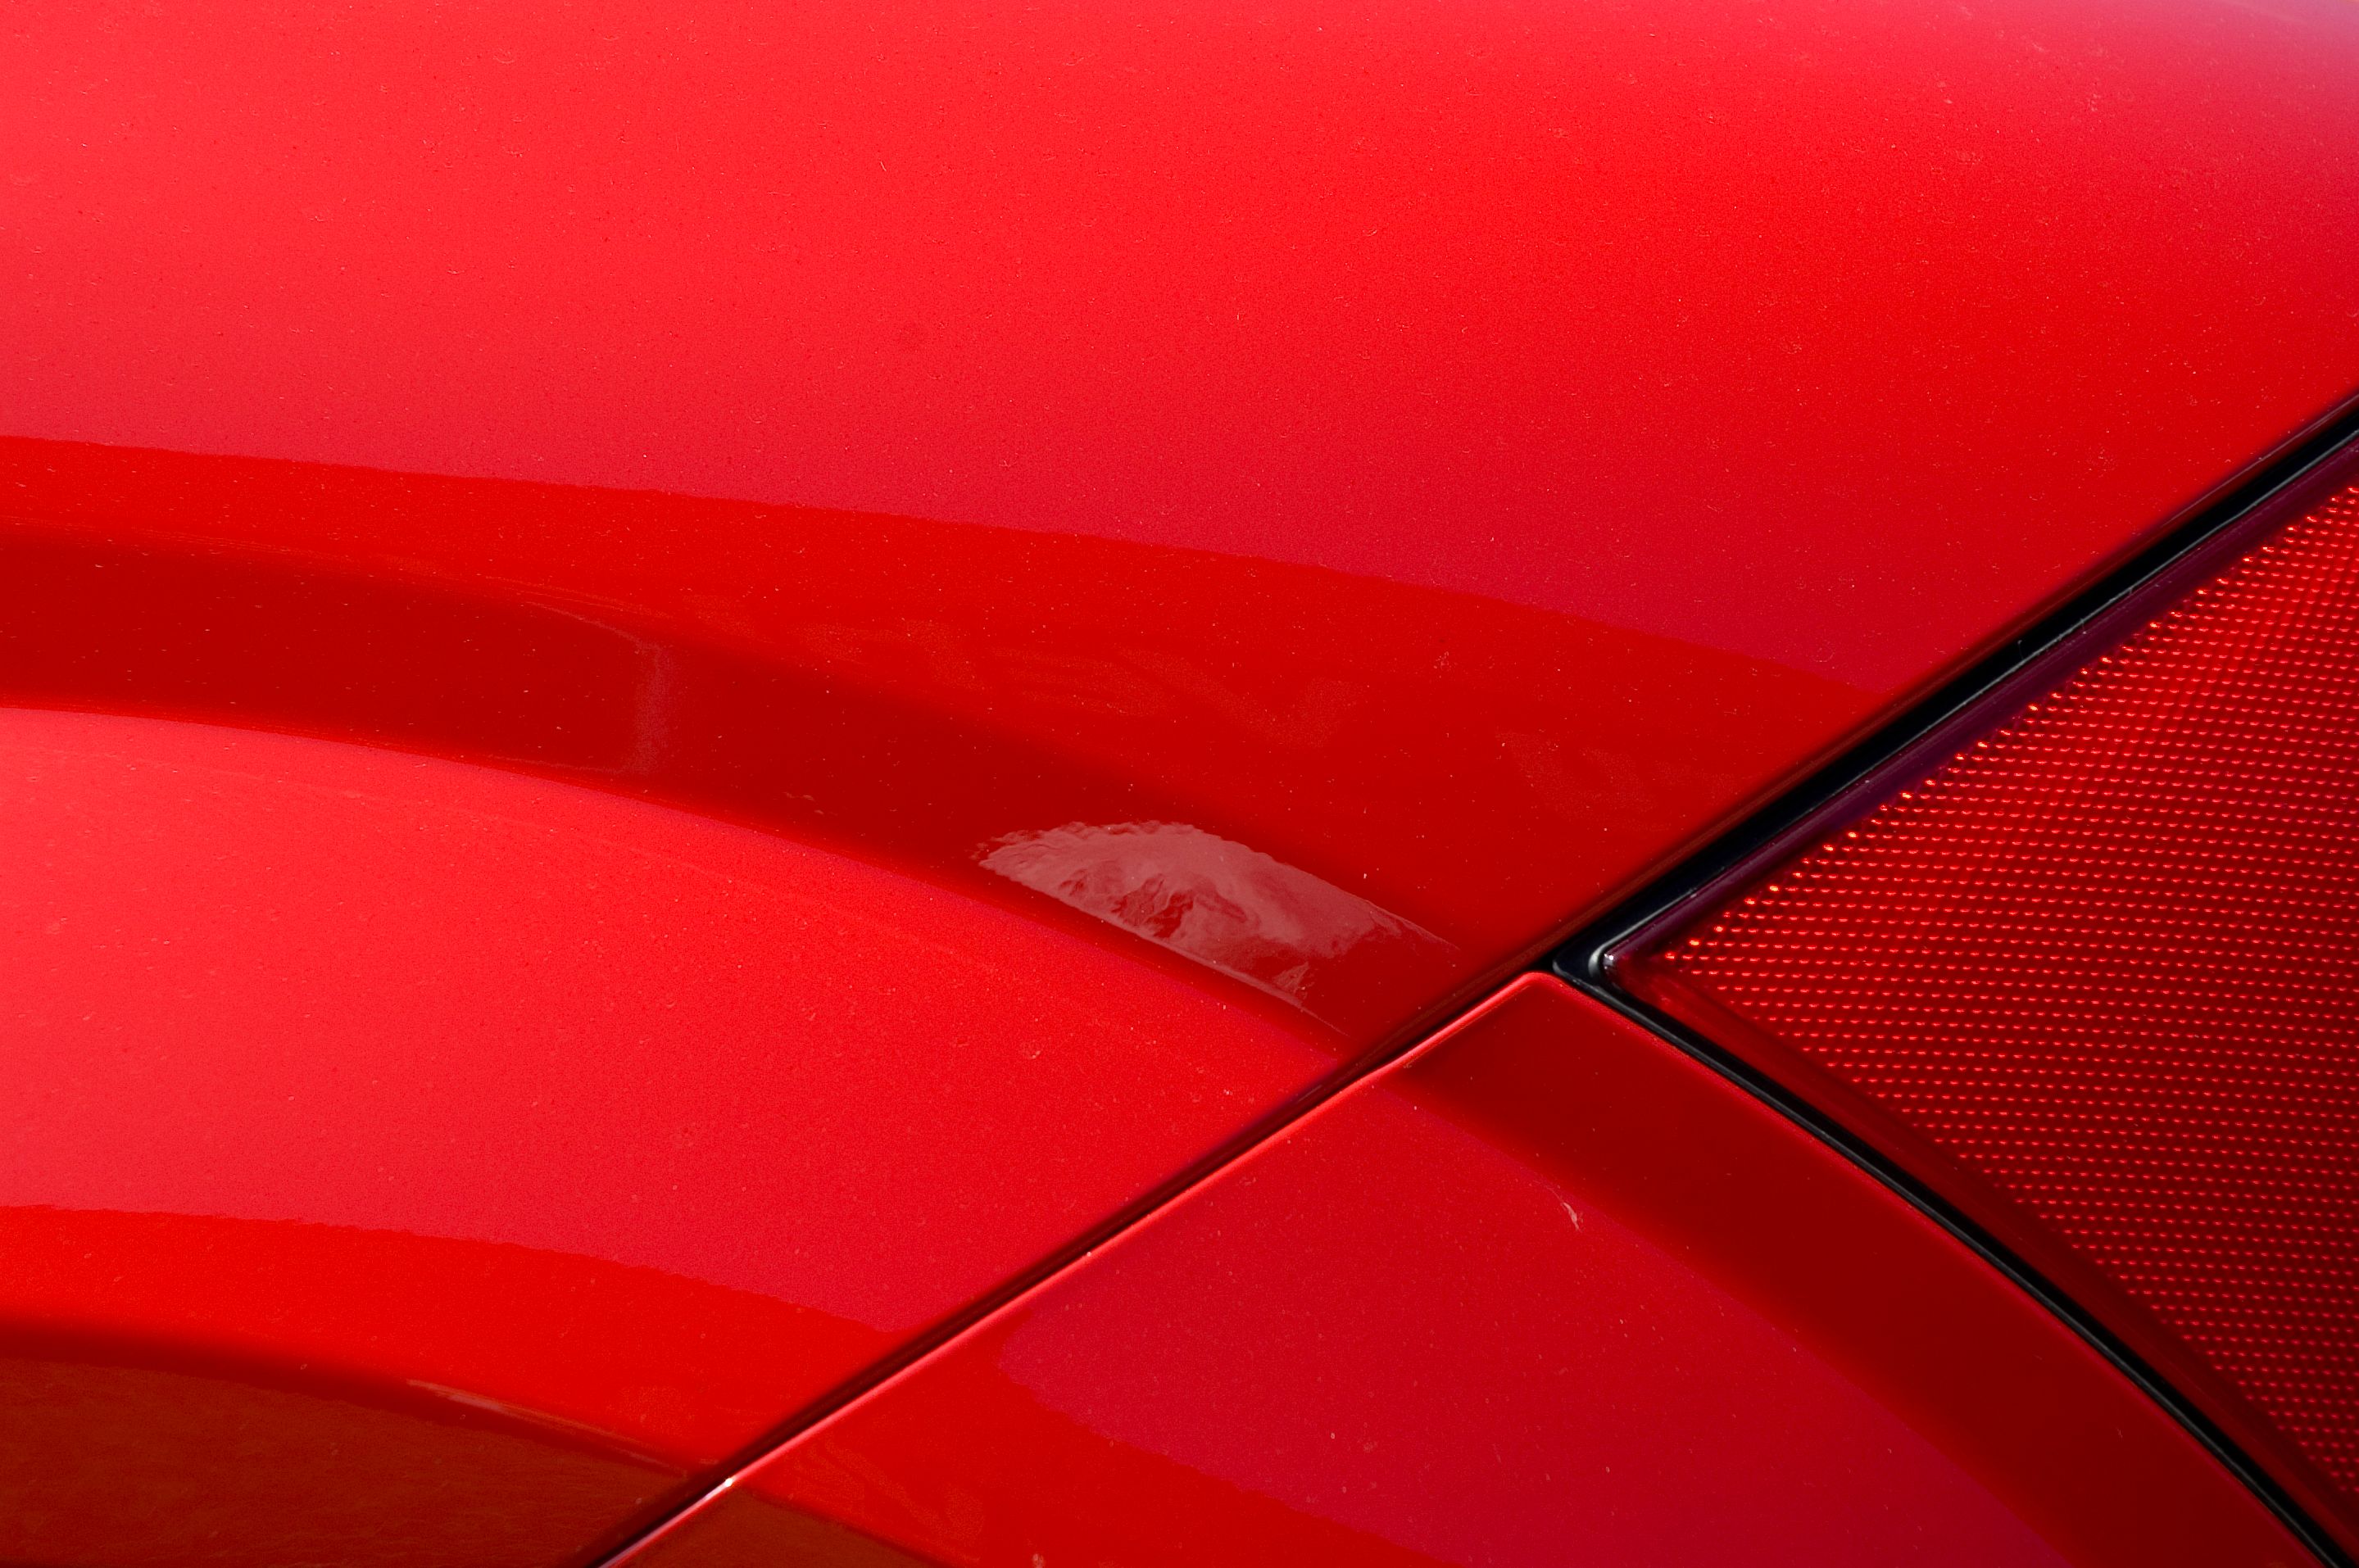
Before diving into repair techniques, it's important to understand the various types of damage that can occur. Bumpers can suffer from scratches, dents, and cracks. Each type of damage requires a specific approach for repair. Identifying the type of damage will help you choose the most effective technique.
For instance, scratches are superficial and often just affect the paint layer. Dents, on the other hand, may require more intensive work to reshape the material. Cracks can be more severe and might need patching or replacement.
Tools and Materials You'll Need
Having the right tools and materials on hand is crucial for a successful bumper repair. Here's a basic list of what you'll need:
- Sandpaper (various grits)
- Plastic filler or putty
- Primer and automotive paint
- Spray gun or spray cans
- Polishing compound
Additionally, protective gear such as gloves and safety goggles should be used to protect yourself during the repair process.
Step-by-Step Bumper Repair Guide
Step 1: Clean and Sand the Area
Begin by thoroughly cleaning the damaged area with soap and water to remove any dirt or debris. Once clean, dry the area completely. Next, use sandpaper to gently sand the damaged area. This will help remove any loose paint and create a smooth surface for repair.
Step 2: Apply Filler or Putty
If there are deep scratches or dents, apply a plastic filler or putty to the affected area. Follow the manufacturer's instructions for mixing and application. Use a putty knife to smooth the filler evenly across the surface, ensuring it fills any gaps or depressions.
Allow the filler to dry completely before proceeding to the next step. This may take several hours depending on the product used.
Step 3: Sand and Prime
Once the filler is dry, sand the area again to ensure a seamless transition between the repaired section and the rest of the bumper. After achieving a smooth surface, apply a coat of primer to prepare for painting. The primer helps the paint adhere better and enhances durability.
Painting and Finishing Touches
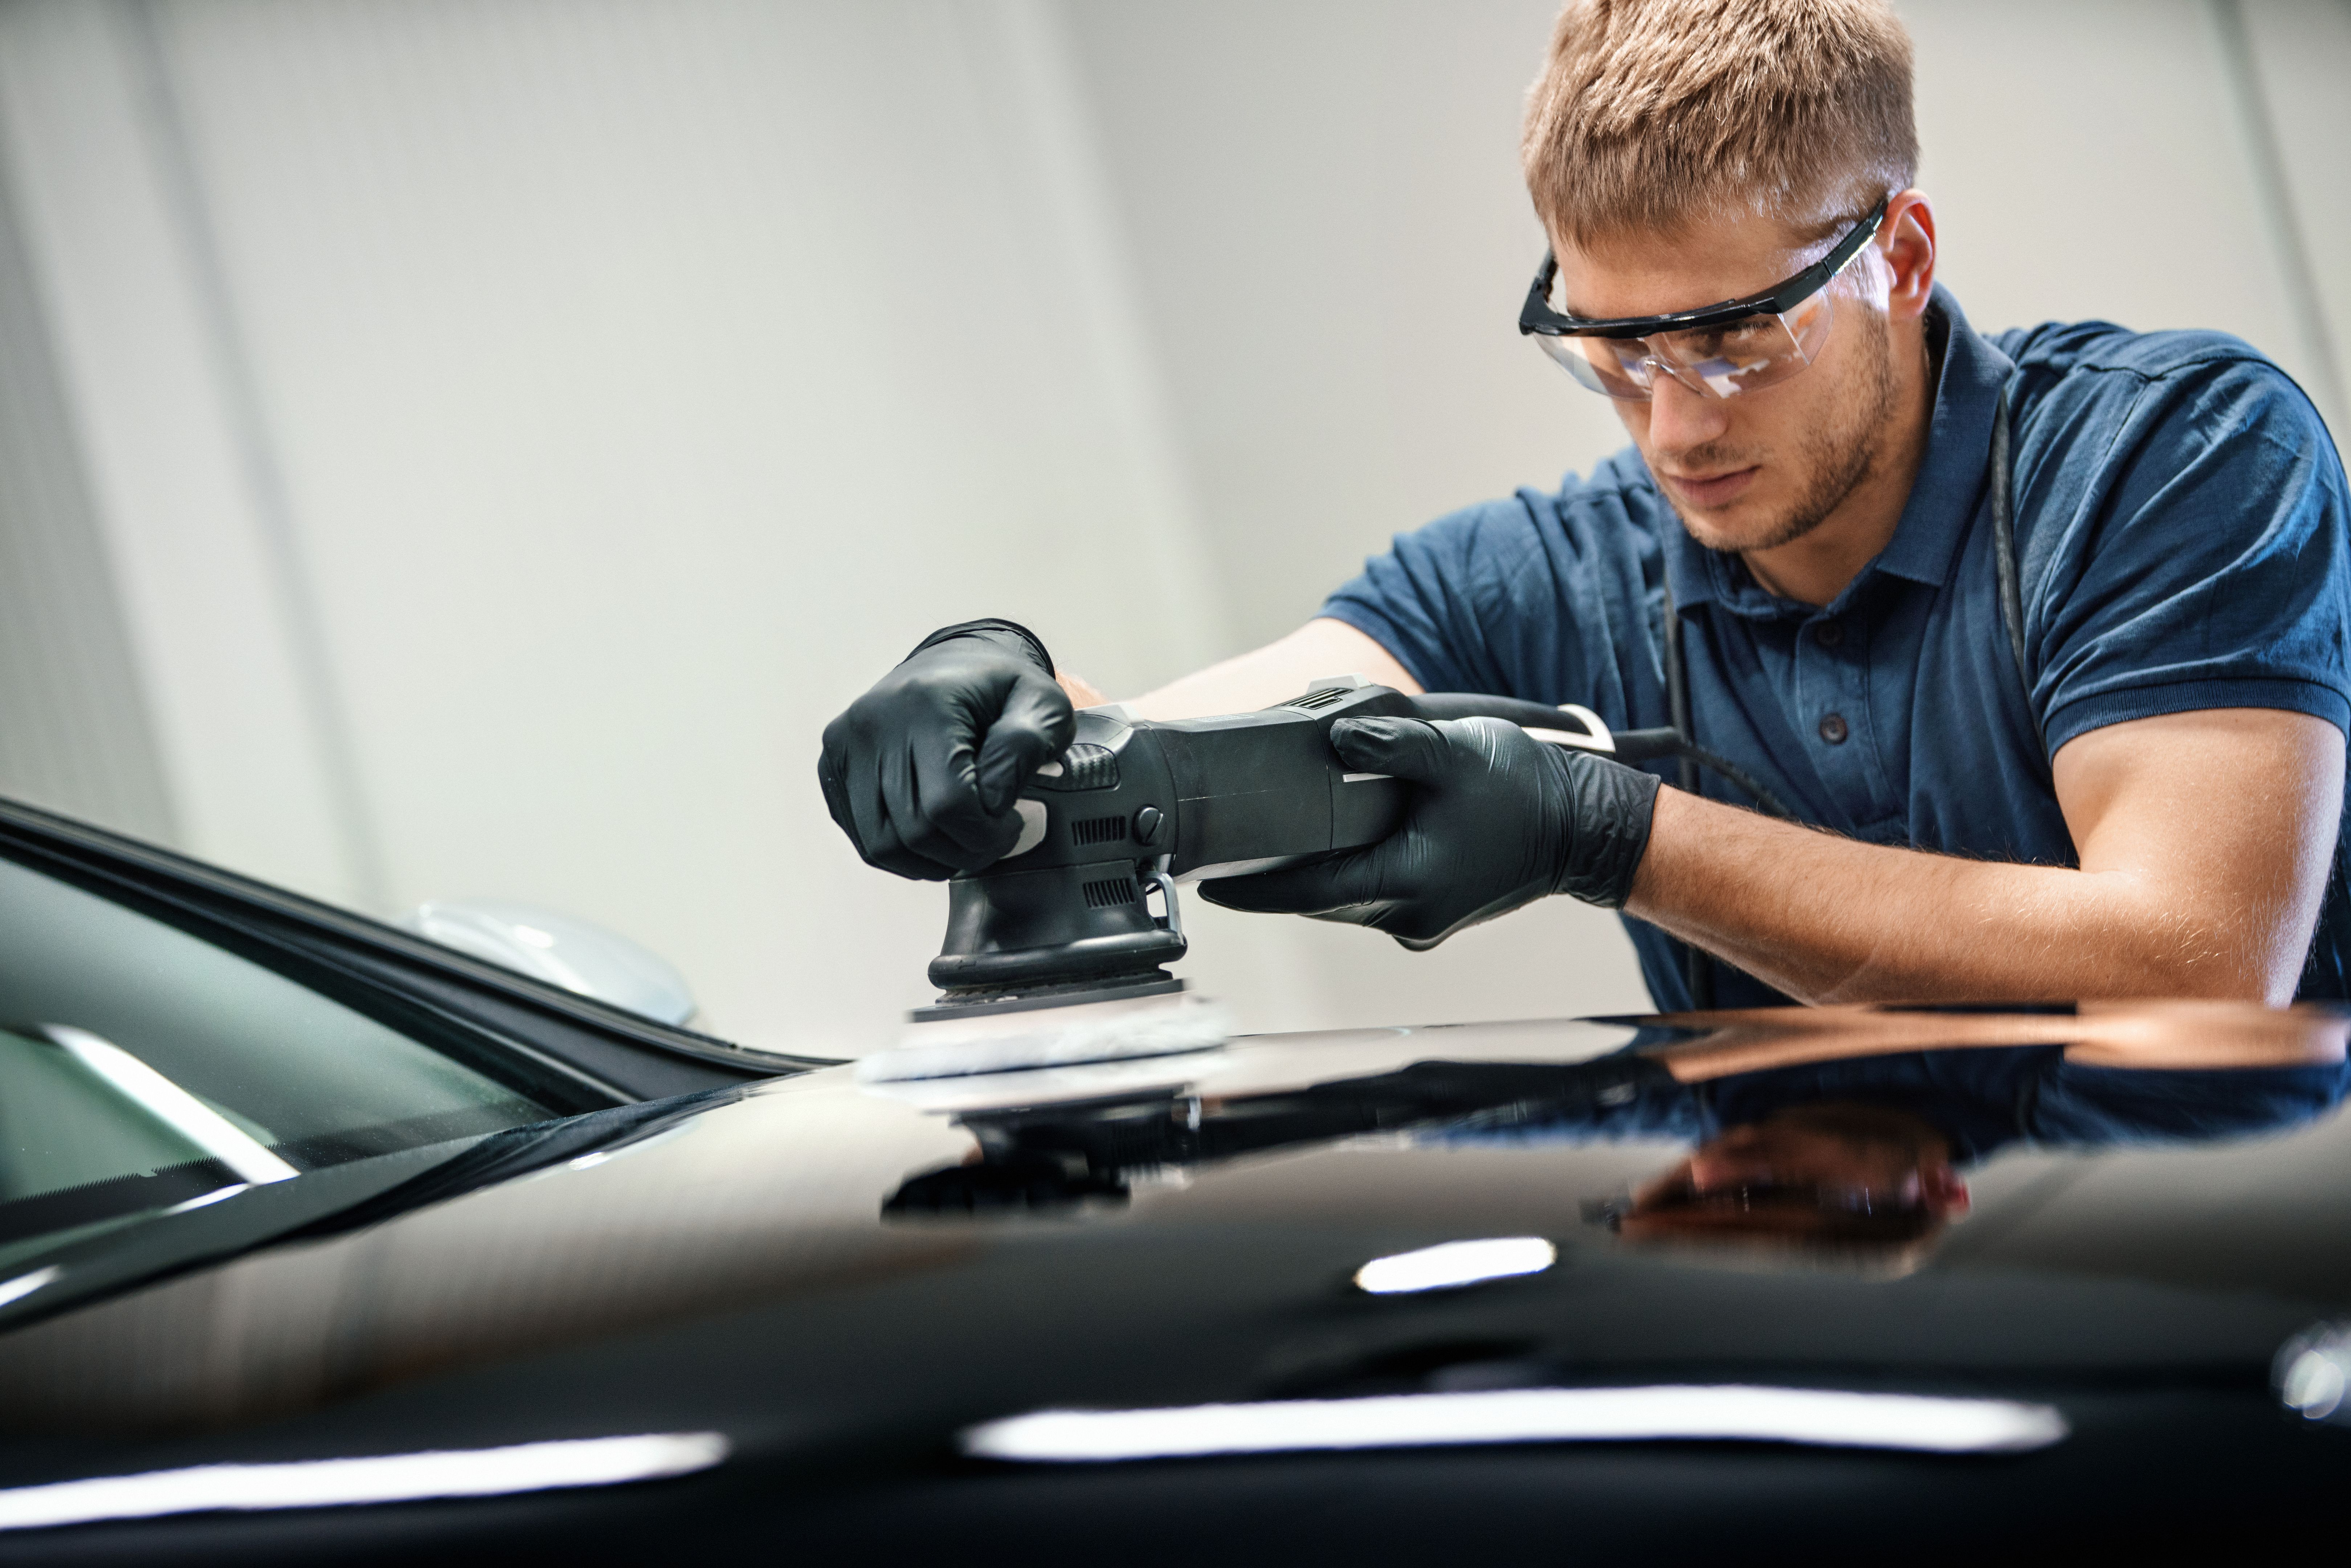
Finally, it's time to paint the bumper. If possible, use a spray gun for a professional finish. Apply several thin coats of automotive paint, allowing each coat to dry before applying the next. This layering technique helps prevent drips and uneven coverage.
Once the paint is dry, use a polishing compound to buff the surface, bringing out a glossy shine that matches the rest of your vehicle. This final step not only enhances appearance but also provides an additional layer of protection.
Bumper repair may seem daunting at first, but with patience and attention to detail, you can achieve a flawless finish that revitalizes your vehicle's appearance.